Bats play a vital role in our ecosystem as natural pest controllers and pollinators. Building a bat house can provide these remarkable creatures with a safe and welcoming habitat while helping to balance the ecosystem. Constructing a bat house is a rewarding project that not only benefits the environment but also offers an opportunity to observe these fascinating creatures up close. Here’s a comprehensive guide to help you construct a bat house successfully.
1. Understanding Bat House Design
Before you begin, it’s essential to understand the basic principles of bat house design. Bats prefer dark, enclosed spaces that mimic their natural roosts. A well-designed bat house should have a narrow, long cavity with roughened interior surfaces for bats to cling to.
2. Gathering Materials
To build a bat house, you’ll need the following materials:
- Exterior-grade plywood or cedar boards
- Screws or nails
- Caulk and weatherproof paint or stain
- Mesh or screen material for interior landing area
- Hand or power tools (saw, drill, hammer, etc.)
3. Choosing a Suitable Location
Selecting the right location for your bat house is crucial. Choose a spot that receives ample sunlight during the day and is situated at least 12-15 feet above the ground. It should be away from bright lights and potential predators. Installing the bat house near water sources or insect-rich areas can attract bats.
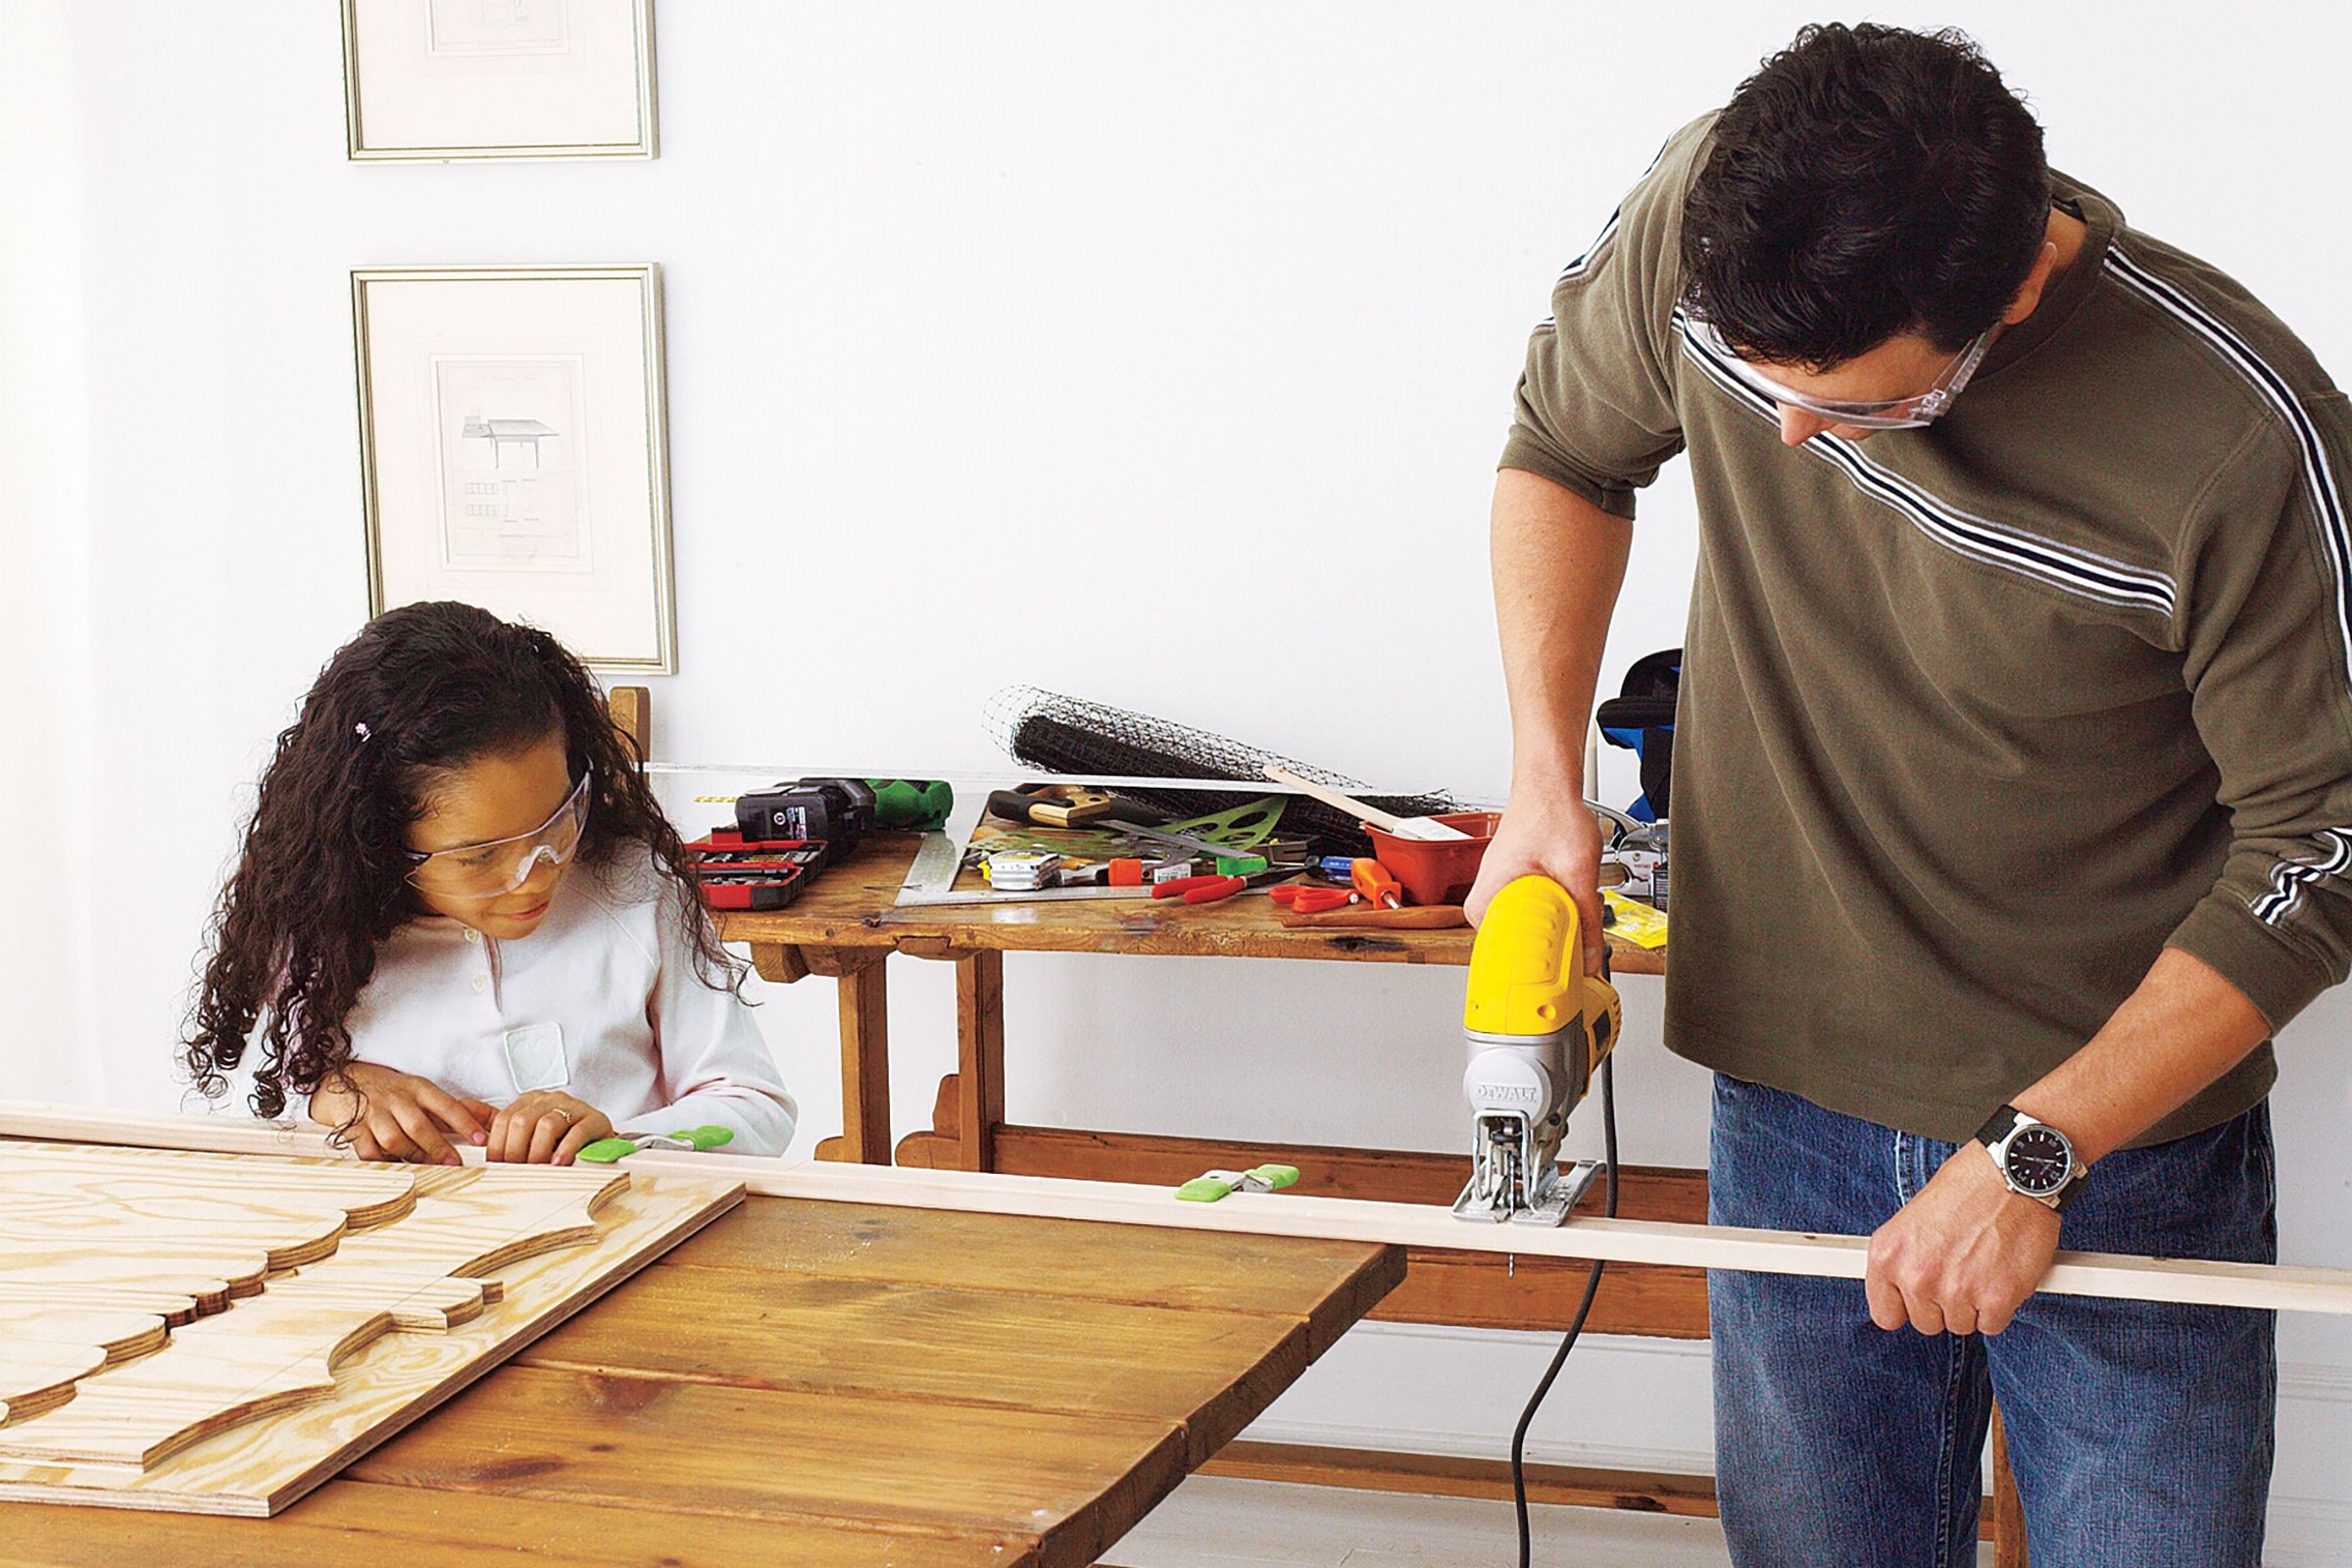
4. Building the Bat House
Follow these steps to construct a bat house:
- Cut the wood into appropriate pieces according to your chosen design.
- Assemble the front, back, sides, and roof of the bat house using screws or nails.
- Create interior chambers by attaching wooden dividers or partitions.
- Add mesh or screen material to the interior landing area for bats to cling to.
- Ensure the bat house has proper ventilation by drilling small holes near the top.
- Seal any gaps or joints with caulk to prevent drafts and moisture.
5. Finishing Touches
Weatherproof the bat house with paint or stain that is safe for bats. Dark colors or natural wood finishes are preferable as they retain heat and provide a more suitable environment.
6. Mounting the Bat House
Mount the bat house securely on a pole, tree, or building. Ensure it’s stable and will not sway in the wind. Orient the bat house with the entrance facing south or southeast to receive optimal sunlight and warmth.
7. Patience and Observation
After installing the bat house, be patient. It may take some time for bats to discover and inhabit the new roost. Regularly observe the bat house during the evening hours to see if bats are using it.
8. Maintenance
Periodically inspect and clean the bat house. In colder climates, you may need to remove it during the winter to prevent moisture buildup.
Conclusion
Constructing a bat house is a rewarding and environmentally friendly project that benefits both bats and humans. By providing a suitable habitat, you contribute to the preservation of these essential creatures while enjoying the opportunity to witness their activities up close. Following the steps outlined in this guide ensures that your bat house is well-designed, properly located, and welcoming to its intended inhabitants. Building a bat house is a small yet impactful way to support biodiversity and create a more balanced and healthy ecosystem in your surroundings.