Holes in walls, whether small or large, can be unsightly and diminish the overall appearance of your home. However, repairing these holes is a straightforward task that can be easily accomplished with the right tools and techniques. In this article, we’ll provide you with a step-by-step guide on how to effectively repair holes in walls and restore the beauty of your living space.
1. Gather Your Materials
Before you begin, gather the necessary materials: spackling compound, putty knife, sandpaper, primer, and matching paint. Having everything ready will streamline the repair process.
2. Prepare the Area
Clear the area around the hole and lay down a drop cloth to catch any debris. Remove any loose or flaking material from the hole and its immediate vicinity.
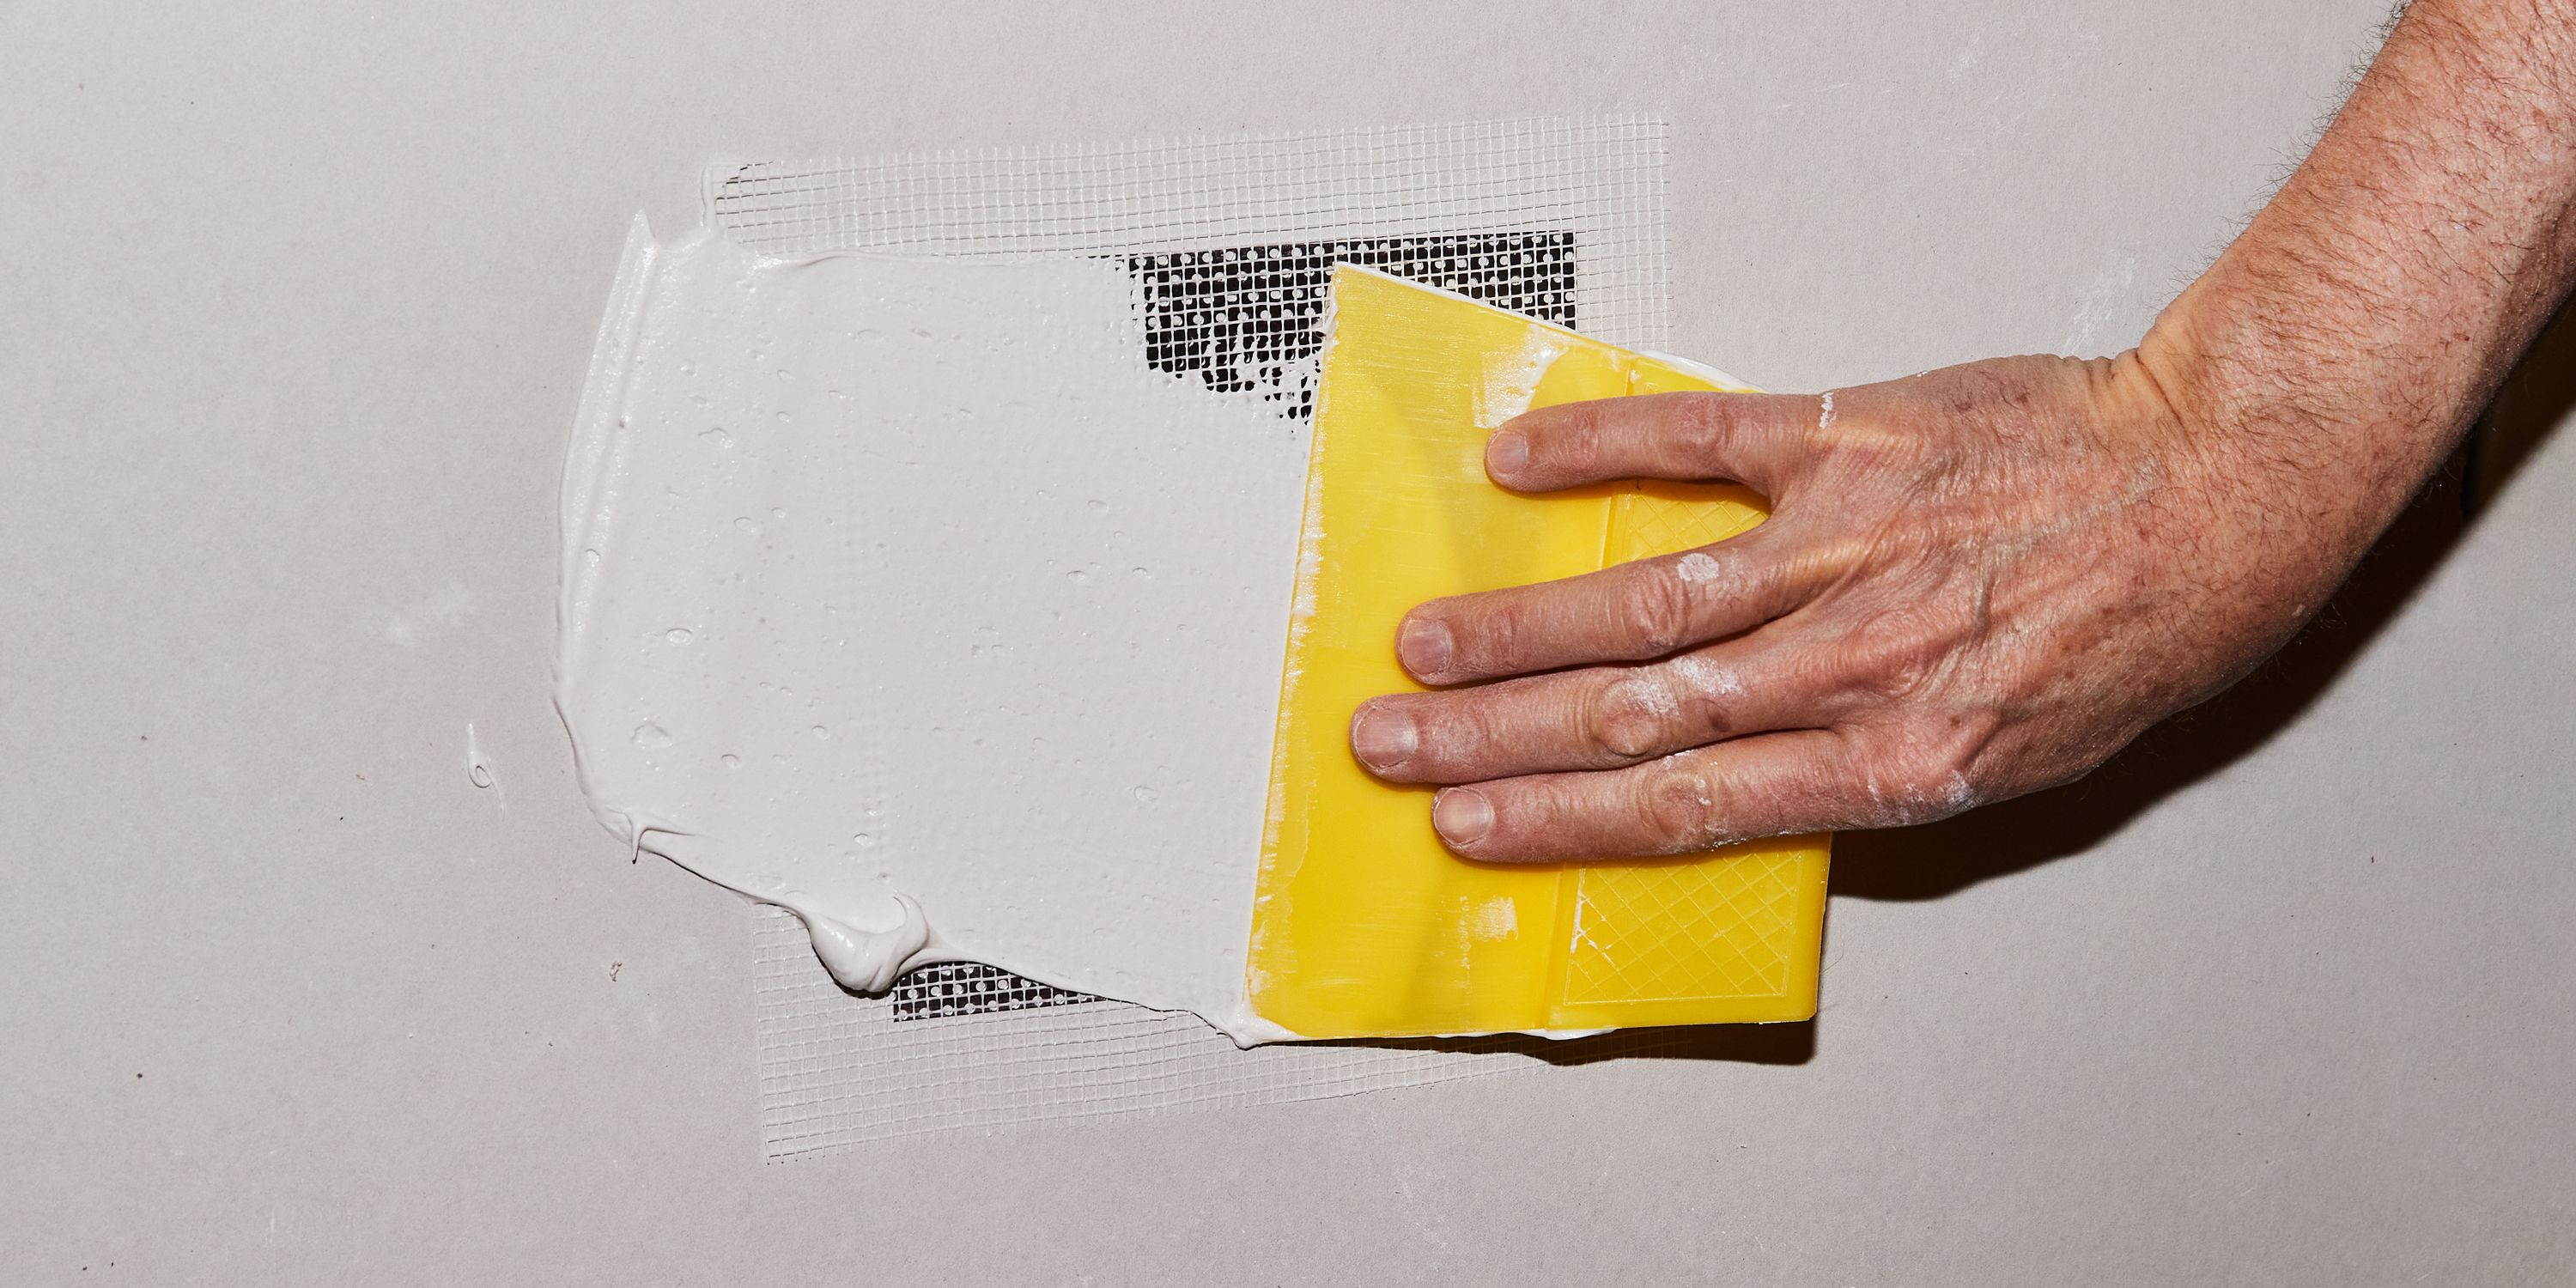
3. Fill the Hole
Using a putty knife, apply spackling compound to the hole in thin layers. Start with a small amount and gradually build up the layers until the hole is completely filled. Smooth the compound evenly with the surrounding wall surface.
4. Sand and Smooth
Once the spackling compound is dry, sand it down gently to create a smooth and even surface. Use fine-grit sandpaper to avoid damaging the surrounding wall.
5. Prime the Area
Apply a coat of primer to the repaired area. This helps create a uniform surface and ensures that the paint adheres properly to the patched area.
6. Match the Paint
To seamlessly blend the repaired area with the rest of the wall, match the paint color. Take a small sample of the existing paint to a paint store and have it color-matched for touch-ups.
7. Paint the Patched Area
Using a small brush or roller, carefully apply the matched paint to the patched area. Feather the edges to create a seamless transition between the repaired section and the rest of the wall.
8. Allow to Dry
Let the paint dry completely. Depending on the type of paint used, this may take a few hours to a day.
9. Inspect and Touch Up
After the paint has dried, inspect the repaired area to ensure it blends well with the surrounding wall. If necessary, apply additional coats of paint to achieve a perfect match.
10. Enjoy the Results
Once the repair is complete, step back and admire your handiwork. The repaired hole should now be virtually indistinguishable from the rest of the wall, restoring the flawless appearance of your living space.
Conclusion
Repairing holes in walls is a simple yet rewarding DIY task that can greatly enhance the aesthetics of your home. By following these steps and taking your time to ensure a seamless finish, you can effectively repair holes of all sizes and enjoy walls that are free from blemishes. Whether you’re preparing to sell your home or simply looking to maintain its pristine appearance, patching up perfection is a skill that allows you to showcase your home at its best.