Future architects hold the key to shaping the world’s built environment for generations to come. These aspiring visionaries are at the forefront of designing sustainable, innovative, and transformative spaces. Let’s explore the qualities and journey of future architects as they embark on a path to make a lasting impact on the architectural landscape.
1. Embracing Creativity and Vision
Creativity lies at the heart of every future architect. They possess a unique ability to envision spaces that blend functionality, aesthetics, and sustainability. Future architects dare to think beyond conventional boundaries, exploring novel ideas and design solutions that challenge the status quo.
2. Pursuing Architectural Education
The journey of a future architect begins with a strong foundation in architectural education. Enrolling in esteemed architectural schools with innovative curriculums empowers them with the knowledge, skills, and resources to develop their creative potential.
3. Mastering the Art of Design
Design is the essence of architecture, and future architects immerse themselves in the art of design. From sketching and creating digital models to building physical prototypes, they refine their design skills to communicate their ideas effectively.
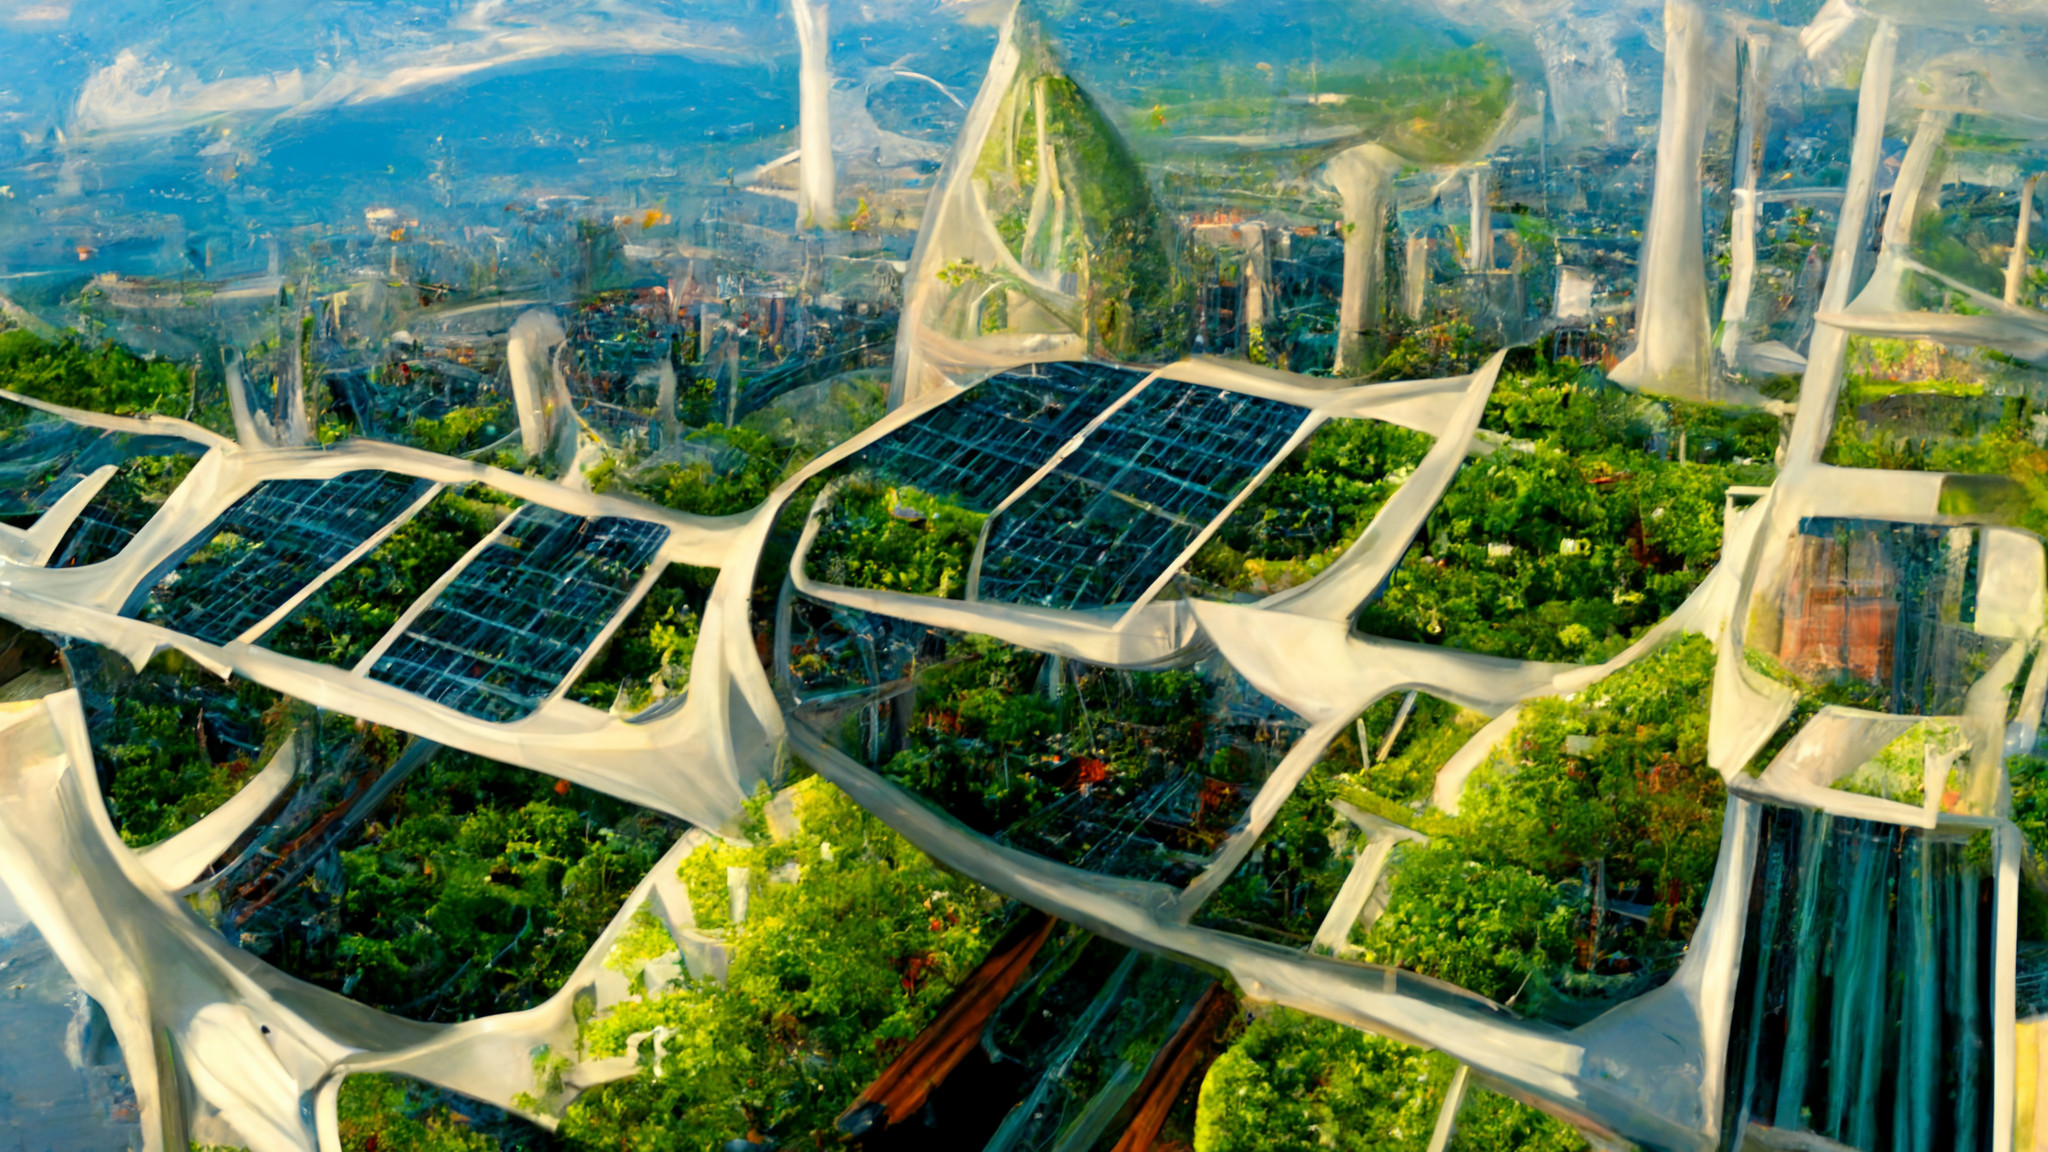
4. Navigating Sustainable and Responsible Design
Future architects recognize the pressing need for sustainable and responsible design. They are mindful of the environmental impact of their creations and strive to incorporate green practices, renewable materials, and energy-efficient solutions in their designs.
5. Embracing Technological Advancements
The world of architecture is continuously evolving with technological advancements. Future architects eagerly embrace technologies like Building Information Modeling (BIM), parametric design, and virtual reality to enhance their design processes and create immersive experiences for clients.
6. Collaborating Across Disciplines
Architecture is an interdisciplinary field, and future architects understand the value of collaboration. They work closely with engineers, urban planners, environmentalists, and other professionals to create holistic and well-integrated designs.
7. Learning from the Masters
Studying the works of iconic architects from different eras provides valuable insights for future architects. They draw inspiration from architectural legends while infusing their own unique styles and perspectives into their creations.
8. Exploring Global Architectural Landscape
Future architects are curious explorers of the global architectural landscape. They seek inspiration from diverse cultures, vernacular architecture, and unique design approaches worldwide, enriching their understanding of architecture’s cultural impact.
9. Engaging in Architectural Competitions
Participating in architectural competitions challenges future architects to test their skills and creativity on real-world projects. Competitions provide valuable exposure, recognition, and opportunities to showcase their innovative ideas.
10. Fostering a Socially Conscious Approach
Beyond aesthetics and functionality, future architects acknowledge the social impact of architecture. They prioritize designing spaces that enhance the well-being and quality of life for communities, addressing issues like inclusivity, accessibility, and community engagement.
Conclusion
Future architects are the torchbearers of innovation, sustainability, and creativity in the field of architecture. With their unique visions and dedication to responsible design, they hold the potential to transform the built environment and create spaces that inspire and uplift. Nurturing these aspiring visionaries through quality education, exposure to global perspectives, and opportunities for collaboration will ensure that the future of architecture remains bright and impactful. As they embark on their journey, future architects have the power to leave a lasting imprint on the world, one exceptional design at a time.